
This is one of those projects. Don't say I didn't tell you off the bat.
Let's just move forward and get through this together, okay?
After our window wall got ripped down to the studs, we were left with this:

Drywall went up and looked like this:

Unfortunately, I didn't get too many pictures of the actual process of putting up the window trim. With this particular bank of windows, I chose to get funky and make up the trim as I went. Basically, I bought a 4x8 sheet of 1/2 inch MDF and had the store rip it to the sizes I needed.

When you do this, keep in mind that it OFTEN results in inaccurate cuts. When that happens, you have two options: 1. Re-rip it at home on your table saw or with a circular saw (this is really only if it ends up oversized), 2. Suck it up and just try to fudge your measurements to deal with the minor inaccuracies. I usually go with option numero dos.
 |
| How pretty is that pile of crap in the backyard? So pretty! The drywall guy would just toss his scraps out of the 2nd floor window as he worked upstairs. Then, he'd go out in the back at the end of the day and clean it all up. |
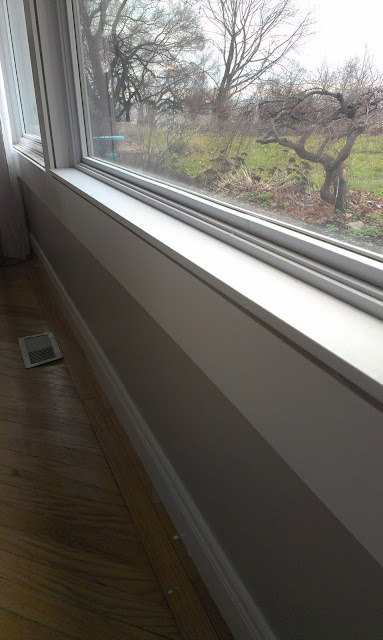
Then I needed to contend with the big, huge, giant, ugly gaps at the bottom of the window on the sill. Right about now is where my carpentry credibility starts breezing out of this window.
.jpg)
Since the window measurements were a little 'off' in some spots, the trim I put up was a little 'off' in some spots. To make up for this, I added some scraps of 1/8 inch shims to get my sill trim to lie flat.

 |
| You're welcome for the awesome photography. |
When I dry-fit the sill on the window, it seemed a little wonky. So, I figured some construction adhesive would help with stability.
About that construction adhesive.....
Remember how I said I sometimes do things in an effort to save a couple dimes? Well, I found an unopened tube of Liquid Nails, but I could NOT open that thing to save my life. I sliced off the tip. Nothing. I stuck it with a long framing nail to try to coax it out. Nothing. I tried squeezing the tube. I broke the whole end-piece off.
<le sigh>
So I did what I feel any other frugal homeowner would do. I grabbed a butter knife and started digging.
 |
| Yes, in hindsight, I should have used a plastic utensil. But this was a fancy occasion. |
And I started spreadin'.
 |
| Like butter on toast. Thick, poisonous butter. |
Then I placed my sill trim back on top to make a delicious sandwich.

A spare piece of trim salvaged during demolition and a couple coats of semi-gloss paint made everything look a bit more tidy.


And within hours, it became the stage for Rudolph and his gang of wayward misfits.


But I was left with a rather thick gap on the underside.

A spare piece of trim salvaged during demolition and a couple coats of semi-gloss paint made everything look a bit more tidy.


And within hours, it became the stage for Rudolph and his gang of wayward misfits.

Hey! That's a good butter knife! I think I should stop reading the blog, it's probably better that I don't know some things.
ReplyDelete